Edio Vineyards
Joan’s Apple Bakery
Henrietta Stich Cider
Folk on the Farm
Edio Vineyards
About Edio Vineyards
Joan’s Apple Bakery
Henrietta Stich Cider
Folk on the Farm
Our Story
Visit Us
Shop
Club
Contact Us
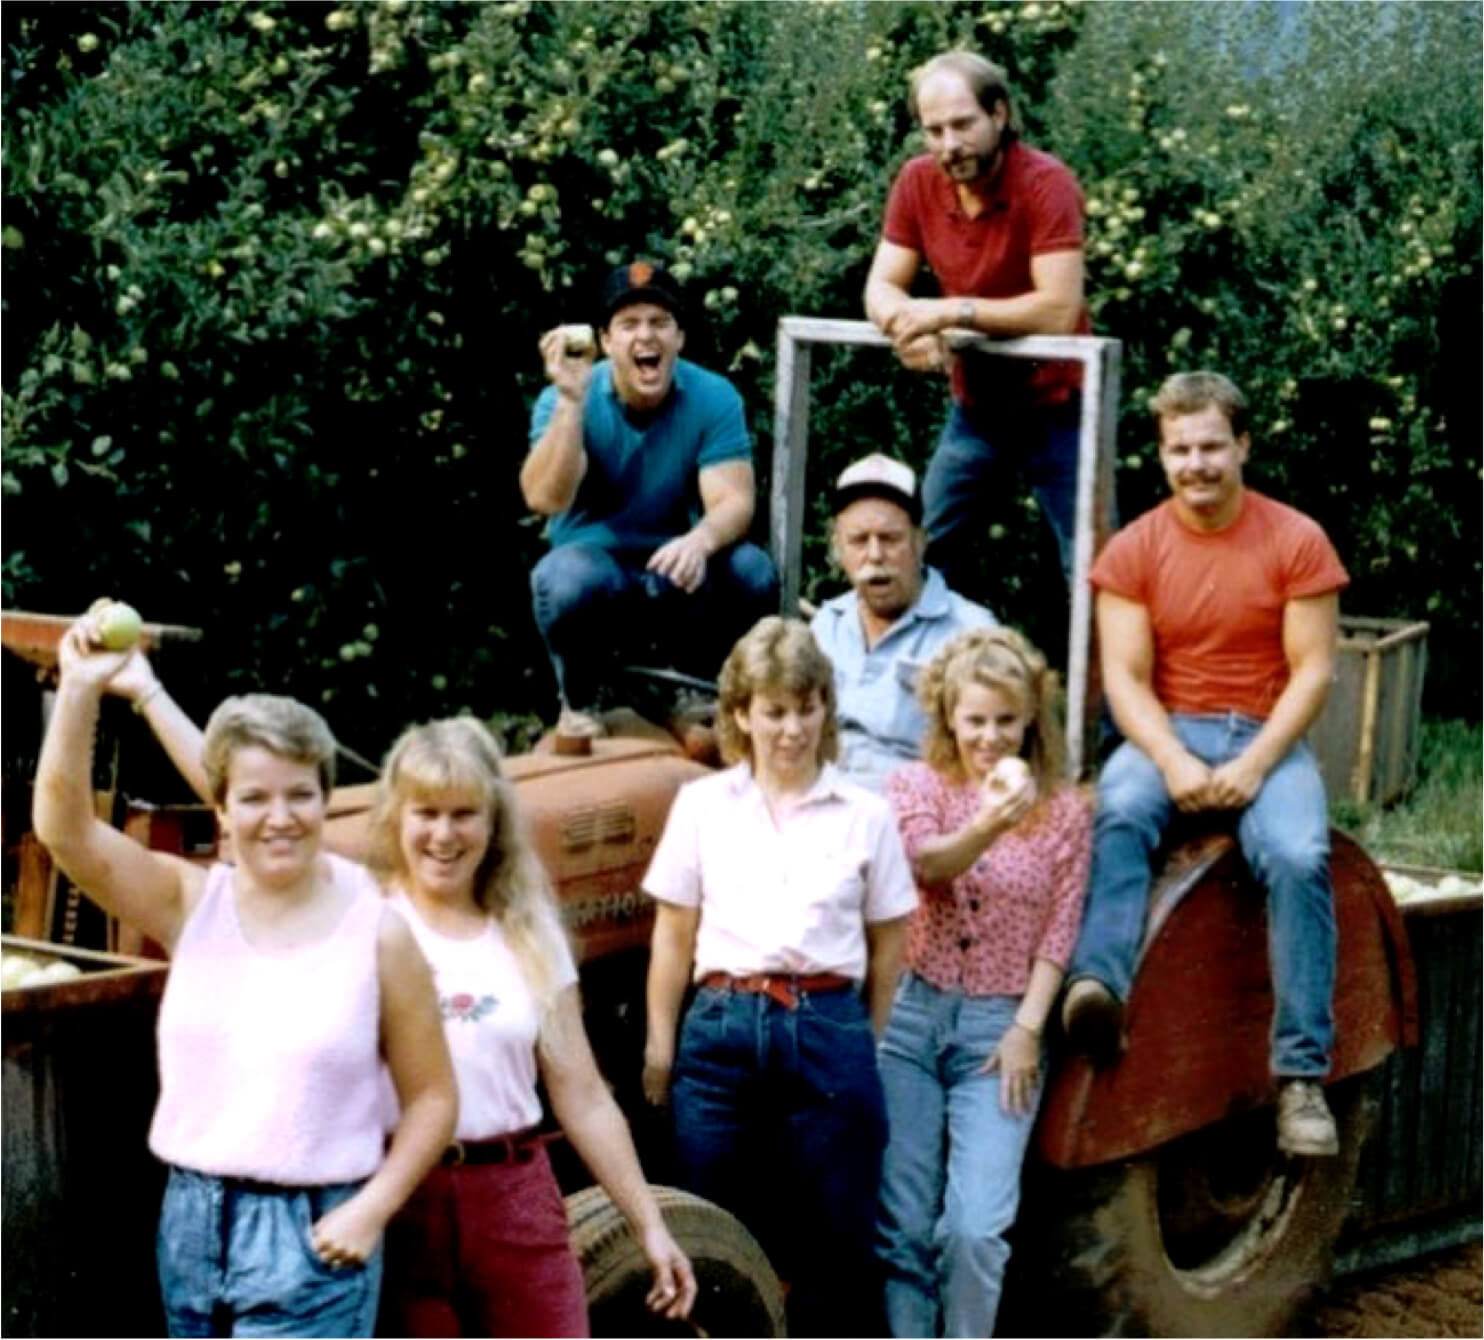
Timeline Photo 1
|
←
Our Story
rpessagno
|
February 9, 2022
←
→
Leave a Reply
Cancel reply
You must be
logged in
to post a comment.